Creating Merchants in the Dashboard
The simplest way to quickly create a merchant is to add the Merchant via the Merchant Vault in the Preczn Dashboard.
Create a Merchant From Dashboard
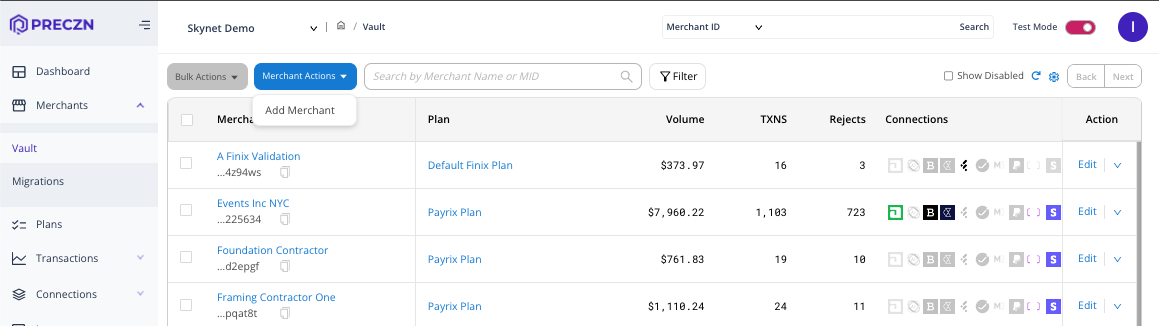
- Browse to the "Merchants" section in the navigation menu and then select the "Vault" sub navigation
- Under Merchant Actions in the top left select 'Merchant Actions' -> 'Add Merchant'
- From here, enter the Merchant's name, labels, and add connection credentials
- We suggest using the Merchant's legal business name.
- 'Label' may be any descriptive label of your choosing to help organize your Merchants. Labels may be up to 20 alphanumeric characters with no spaces, and will always display in all caps.
- An example of adding credentials would be if your merchant had a direct connection to Stripe. That individual Merchant's credentials could be entered to establish an active merchant connection.
- When adding connection credentials, Preczn will first validate the credentials before allow you to create the merchant.
- NOTE - Some processor Connections require credentials at the Merchant level, but not all do. You may not be asked for individual Merchant credentials at this stage if your selected Connection has provided Connection-level credentials
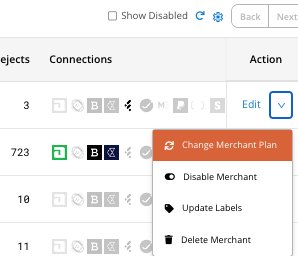
- Once added you may assign the merchant to a plan by selecting 'Change Merchant Plan' from the Merchant's Edit dropdown
Updated 3 months ago
What’s Next
Do you need to add more than one Merchant? Add multiple merchants easily via API.