Quick Start Guide
Follow these steps to board your Merchants and begin processing payments.
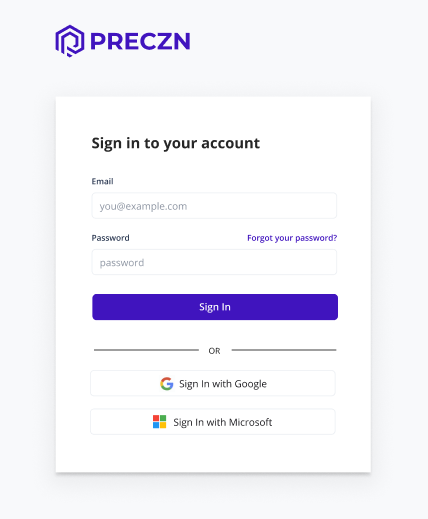
Login to Preczn Dashboard
Once you have received your invitation to configure credentials for your platform in Preczn, you can log in for the first time.
If your organization uses Office365 or Google Workspace, you can utilize SSO by selecting Sign in with Google or Sign in with Microsoft.
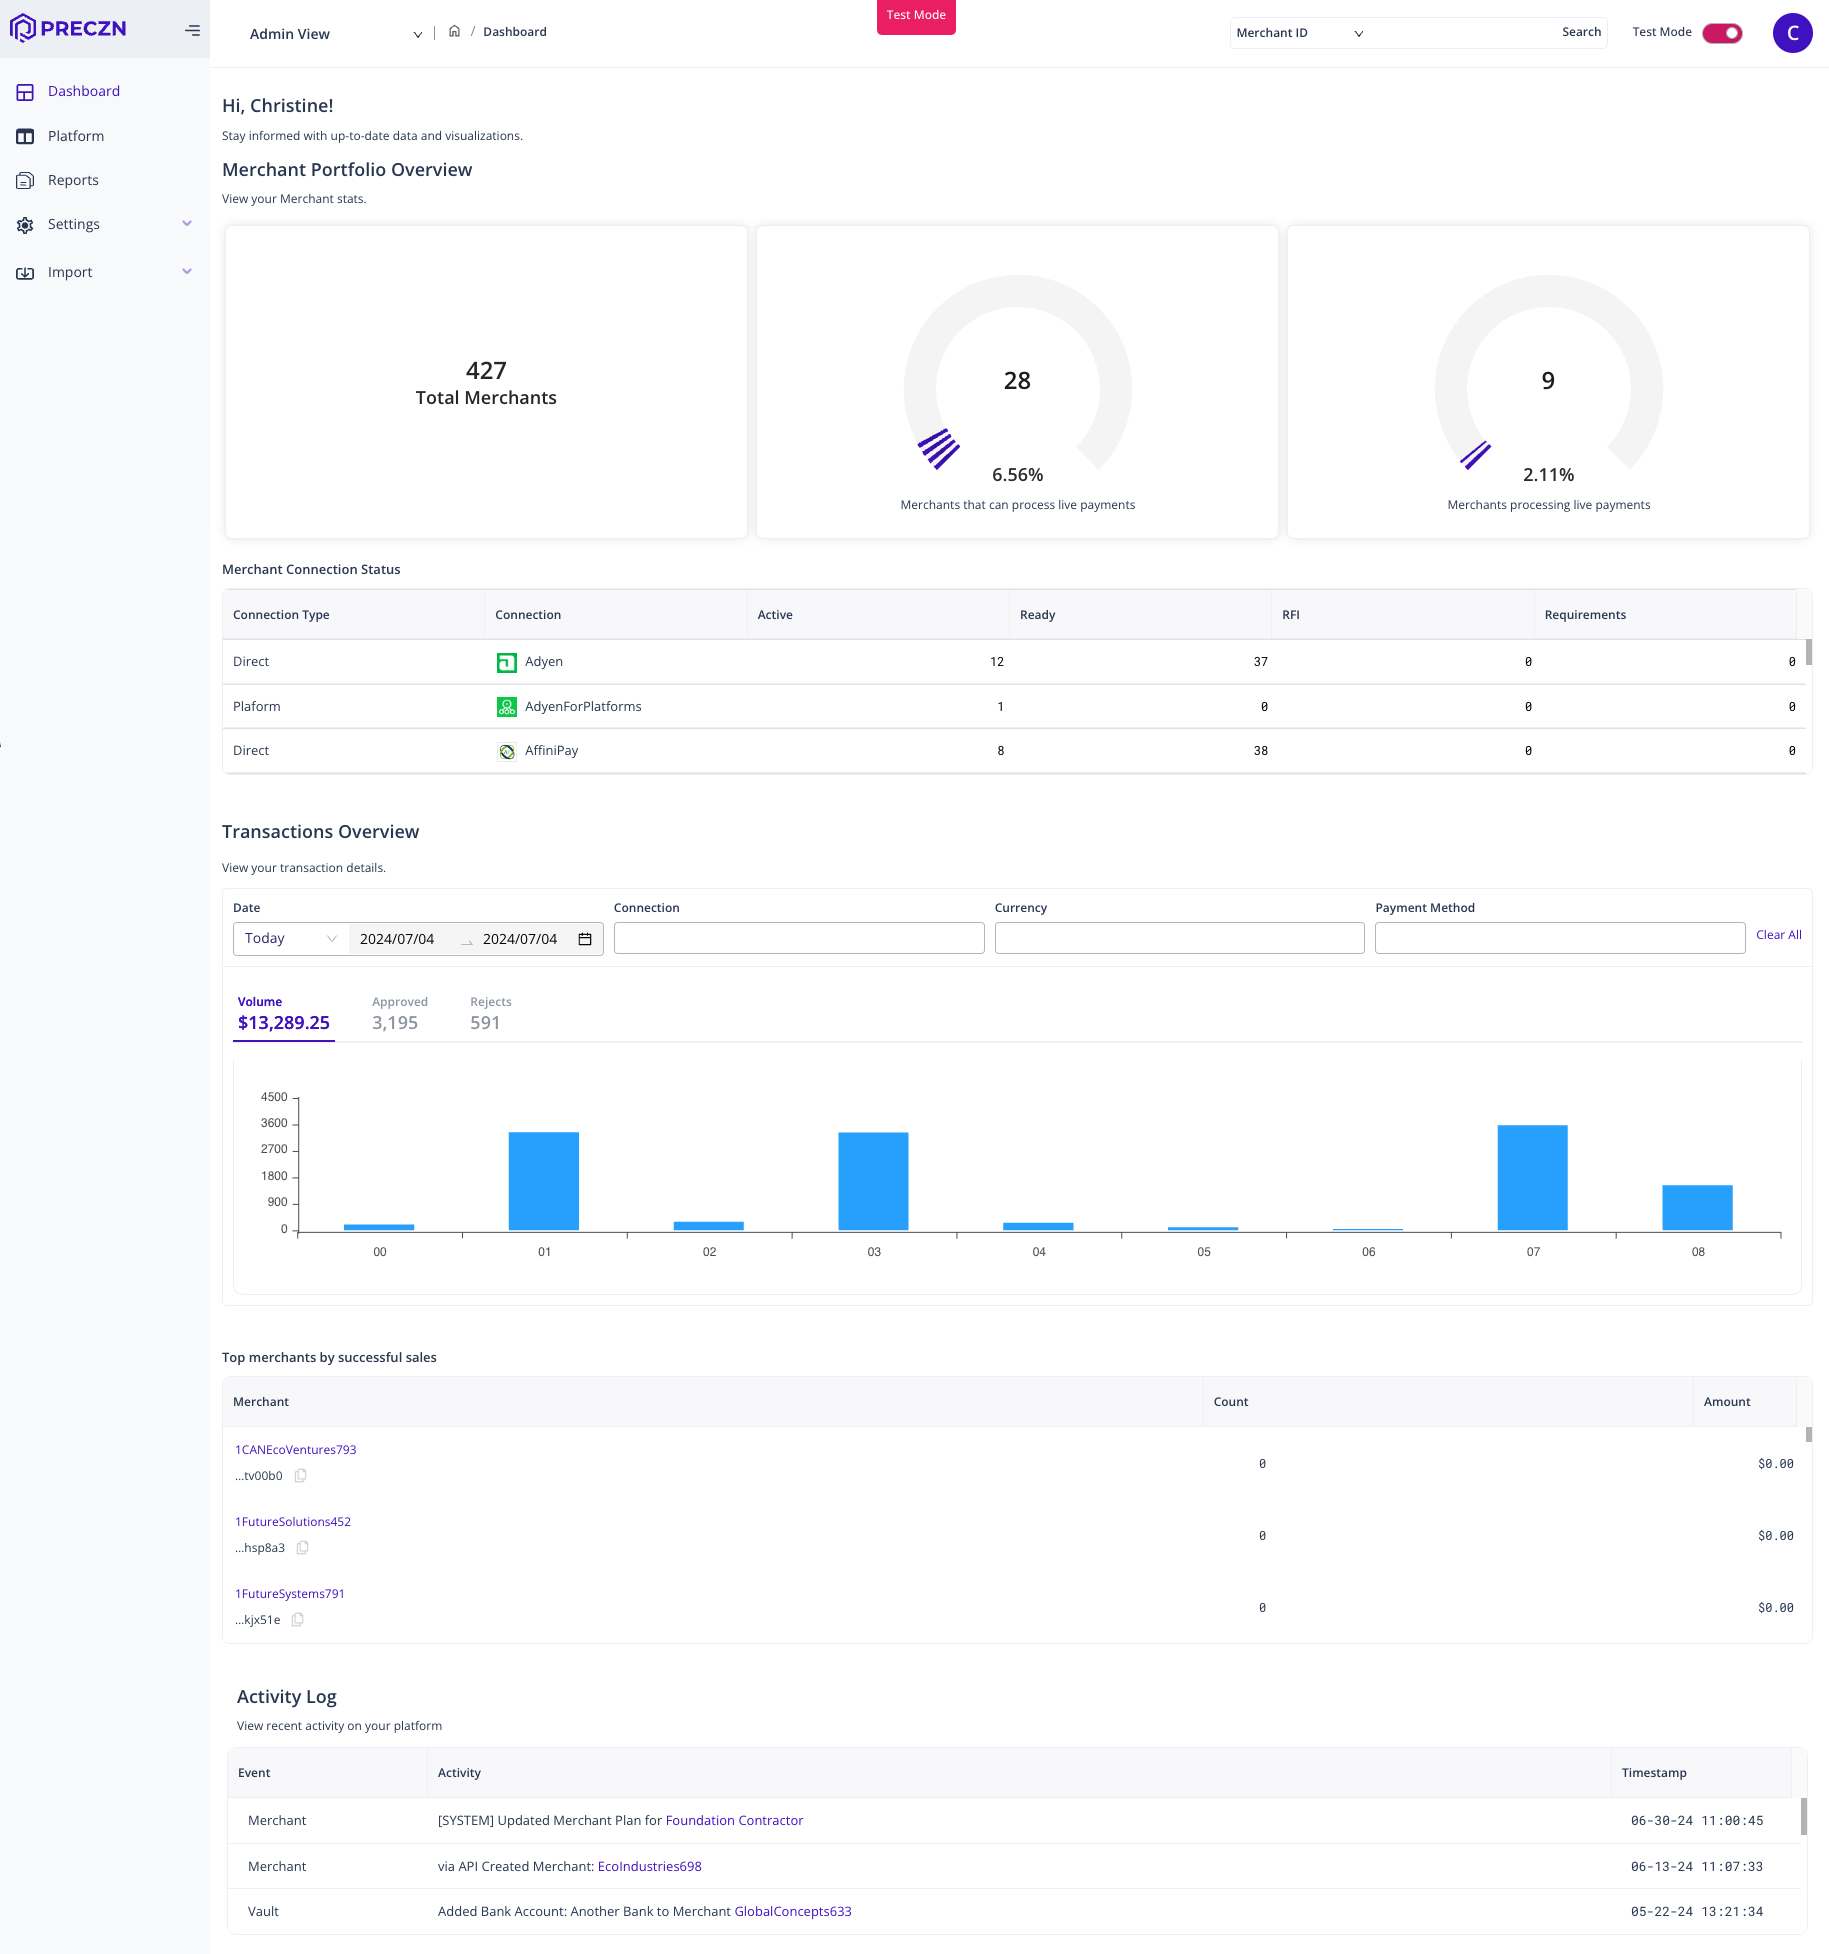
Sign into the Preczn Dashboard
Login opens the Dashboard page. Using the navigation menu on the left, you can manage the components of your Platform.
Configure Your Platform
When you first establish your Preczn account you will need to:
- Manage your User Access to the Preczn Dashboard.
- Obtain your API Keys.
- Configure your Webhooks Notifications.
All new Platforms begin their Preczn experience in Test Mode. Plans / Rules, Merchants, Transaction endpoints and API Keys are entirely separated between Live Mode and Test Mode. You can familiarize yourself with Live Mode vs. Test Mode here.
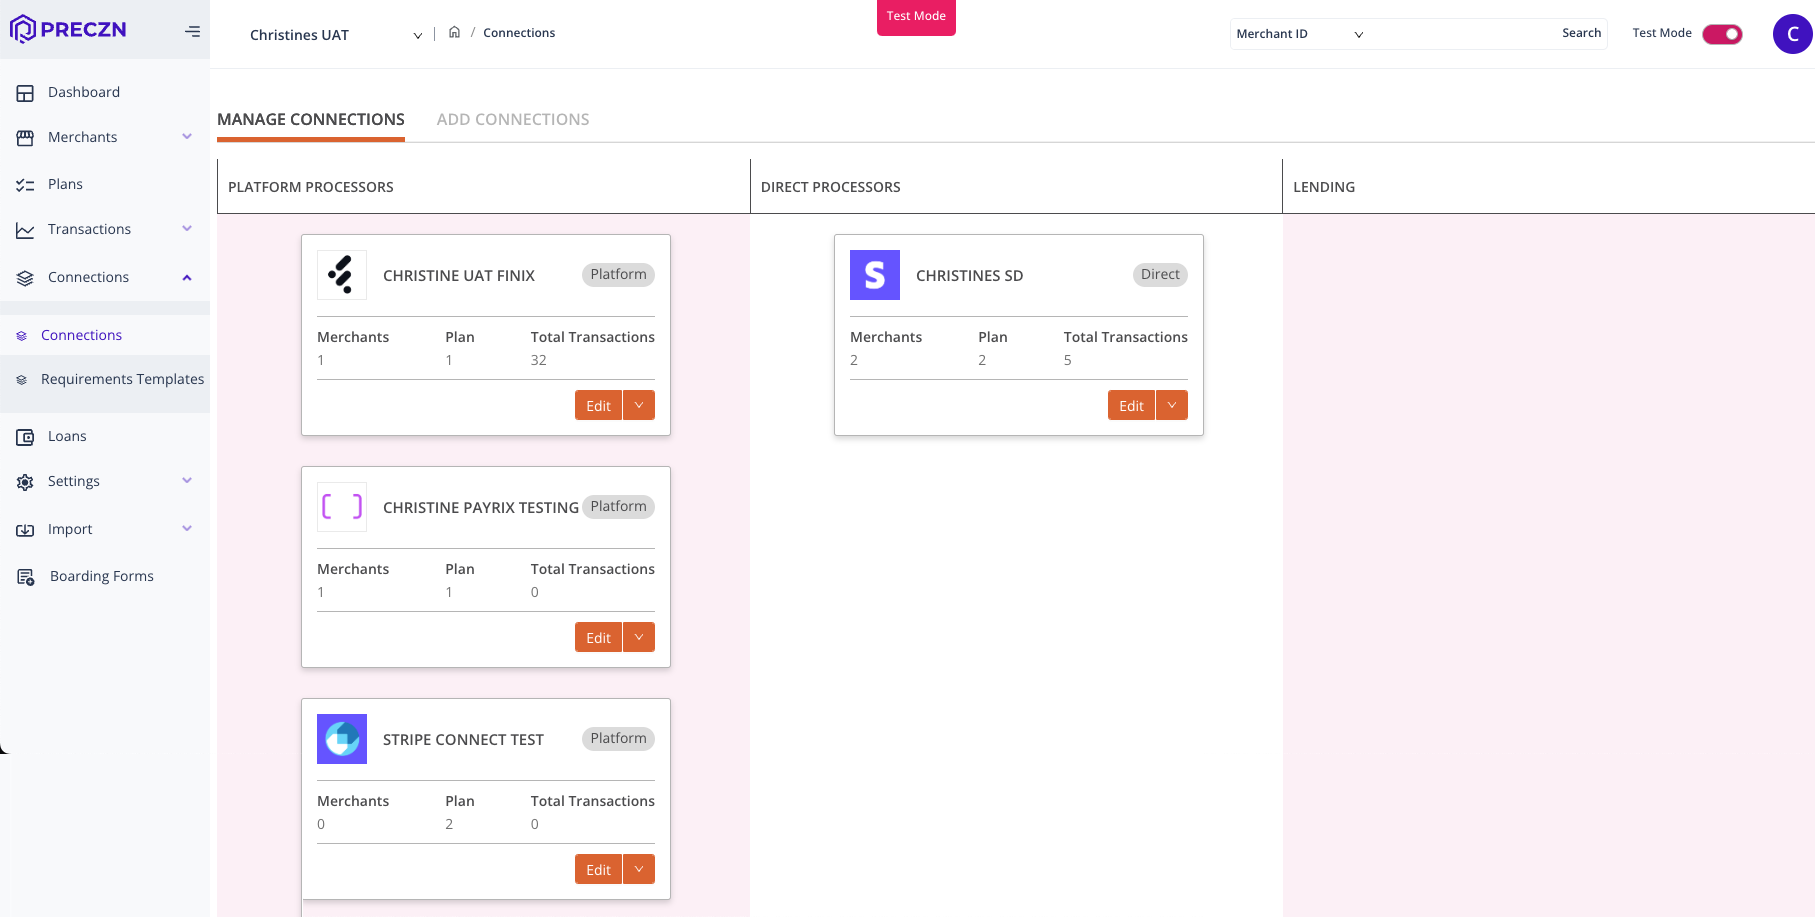
Create Connections to Payment Providers
We recommend initially setting up your Connections and Plans within Preczn. This preliminary step simplifies the process of adding Merchants later on. Additionally, consider establishing Test Connections for any processors where you possess sandbox or test credentials, to ensure seamless integration and testing.
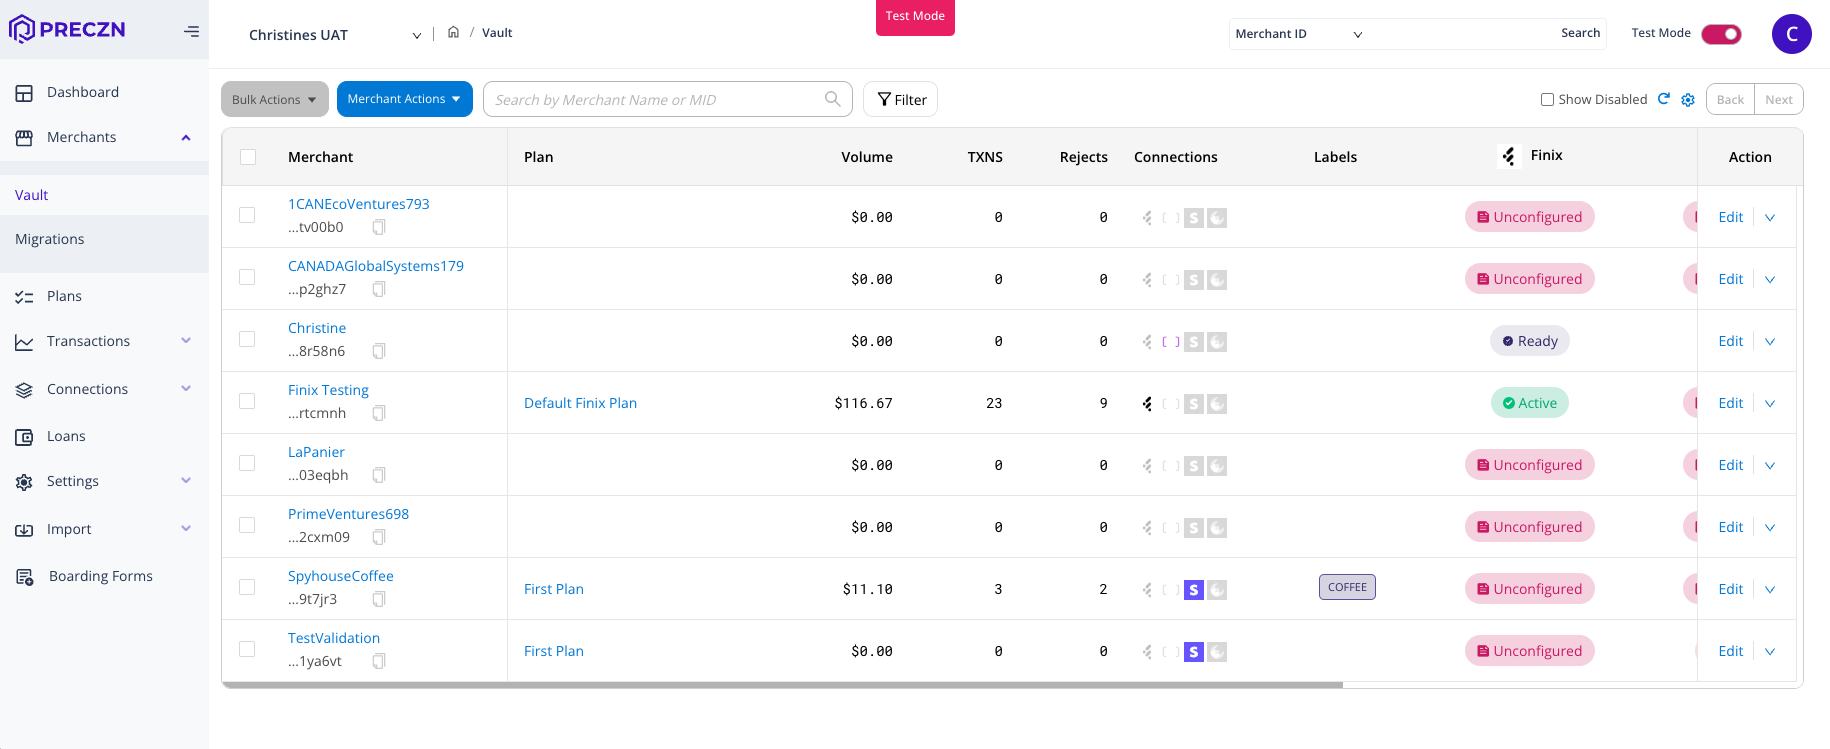
Add Merchant Records to your Merchant Vault
Next, you will add your Merchant and their credentials into Preczn. Take this opportunity to create any Test Merchants you may need.
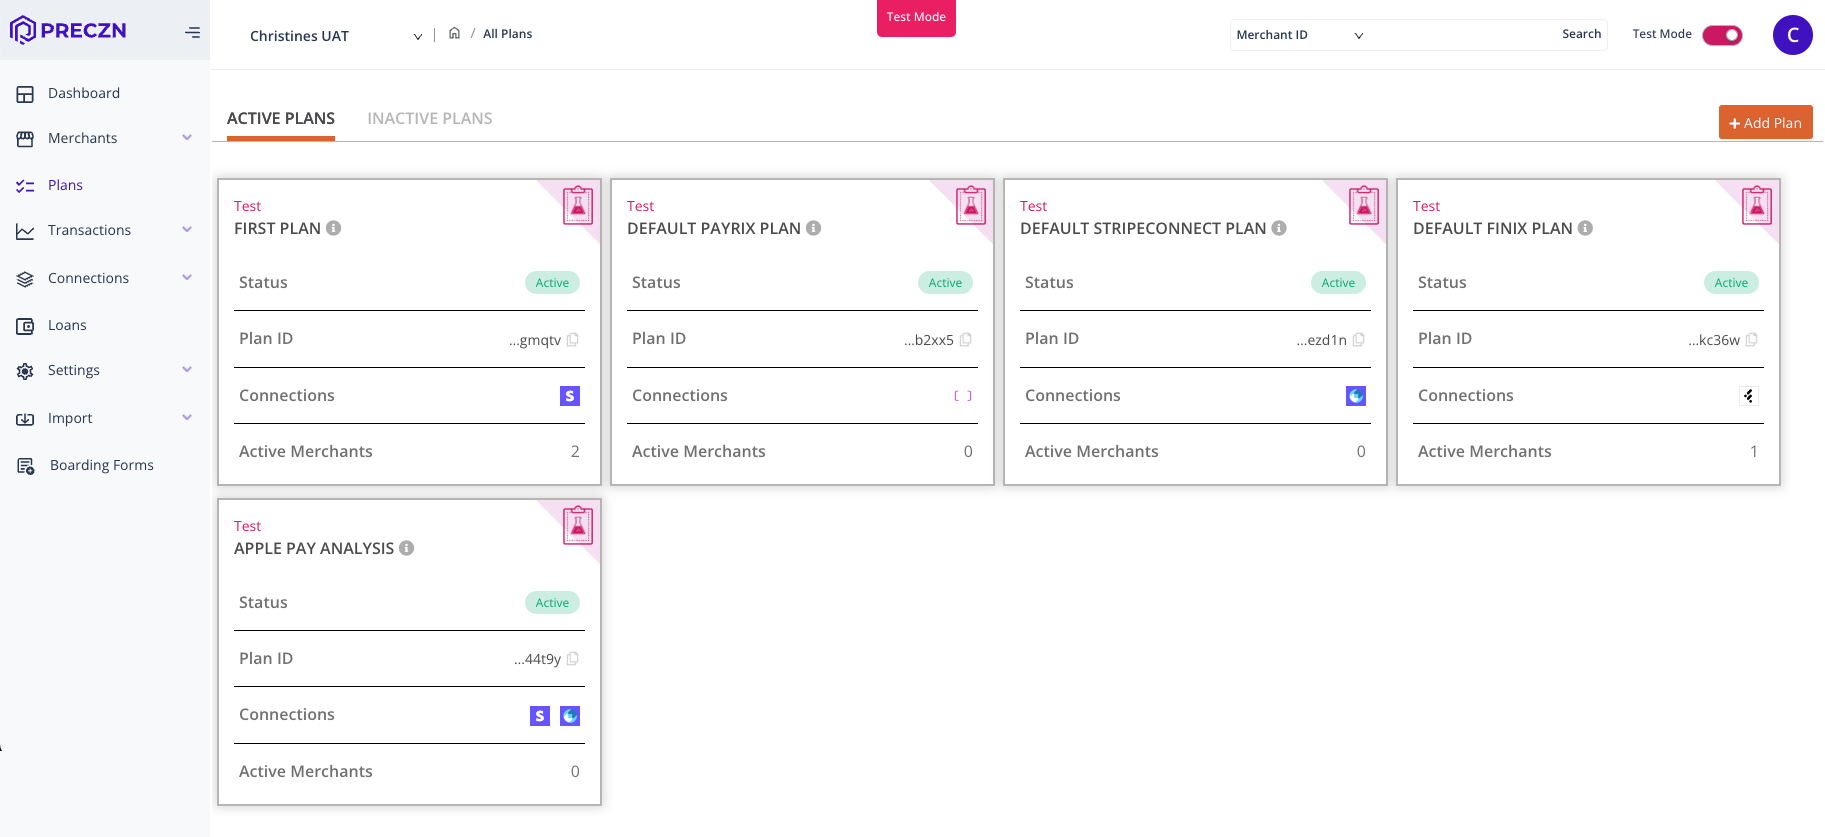
Create Plans to Route Your Payment Transactions
From here, you may create a Plan utilizing the Connections you've configured. The key components of Plans are Rules. If you anticipate having a Plan Rule that leverages multiple Connections, add all the Connections that apply. The name and description of your Plan are defined by you, and may be anything which helps your organization.
Create Rules
Once your first Plan is created, create one or more Rules for that Plan.
Select from:
More Rule types are being added all the time. Speak to us about your unique needs, and Preczn will explore creating a Rule tailored to your situation.
Assign Merchants to Plans
Now that you have Merchants loaded, and Connections Plans / Rules configured, you can assign your Merchants to Plans as needed. Merchants may only be assigned to Plans for which the Merchant has all relevant Connection credentials. For example, a distribution Plan including both Stripe and PayPal would require the Merchant to have both Stripe and PayPal Connections configured. When needed, Connections and relevant credentials can be added to a Merchant later by accessing the Merchant's full profile from your Merchant Portfolio.
Process Payment Transactions
Any of your merchants with existing Connection credentials can now transact against that Connection via Preczn.
Utilizing our PaymentFields Integration will allow your platform to leverage Preczn for tokenization, without the need to have customer/cardholder PAN data retained in your application.
Your platform can also leverage Preczn to allow Merchants to process using multiple Connections from a single integration.
Updated 5 months ago